A collage of images of people in hammocks A collage of images of people in hammocks

Enjoy Life's Simple Moments

Our story began along Yosemite’s John Muir Trail

where one of America’s most iconic landscapes offers easy access to priceless outdoor experiences. Gearing up for it?

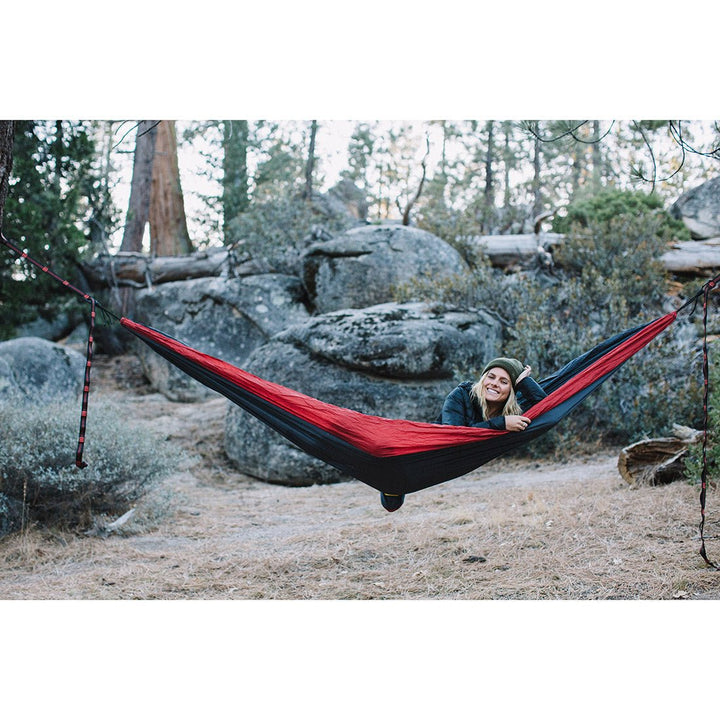
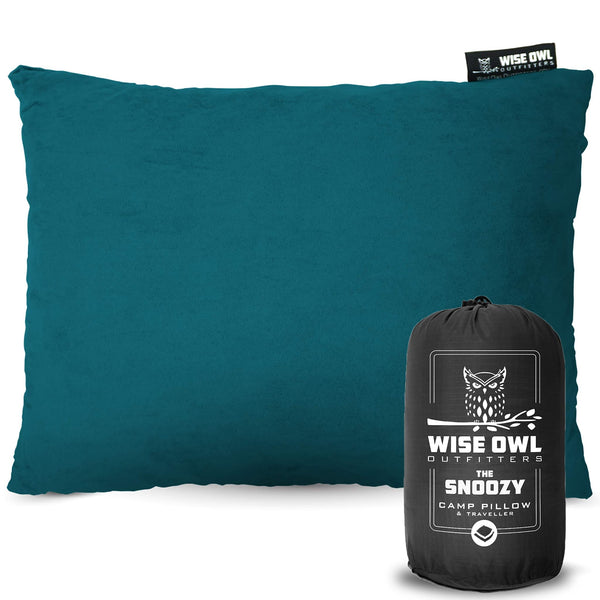
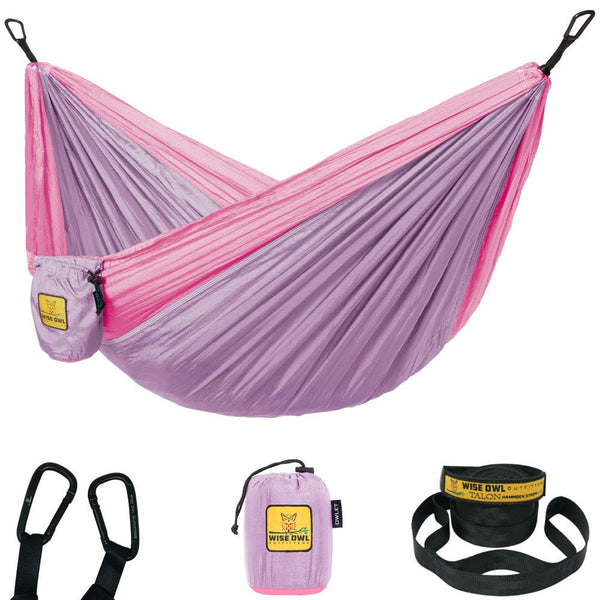
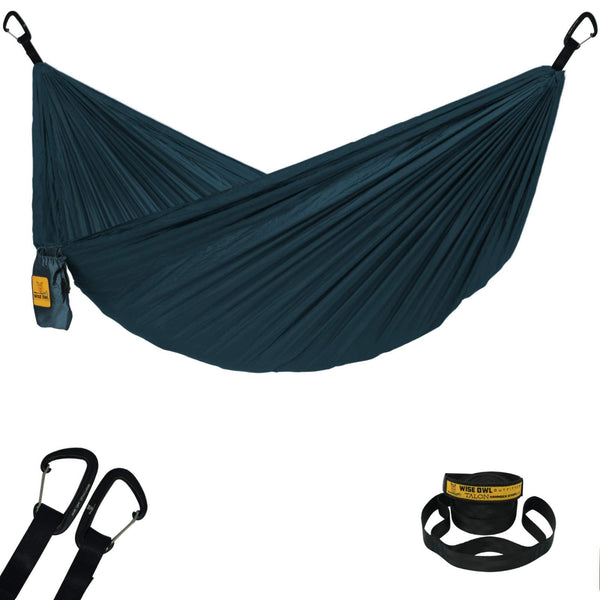
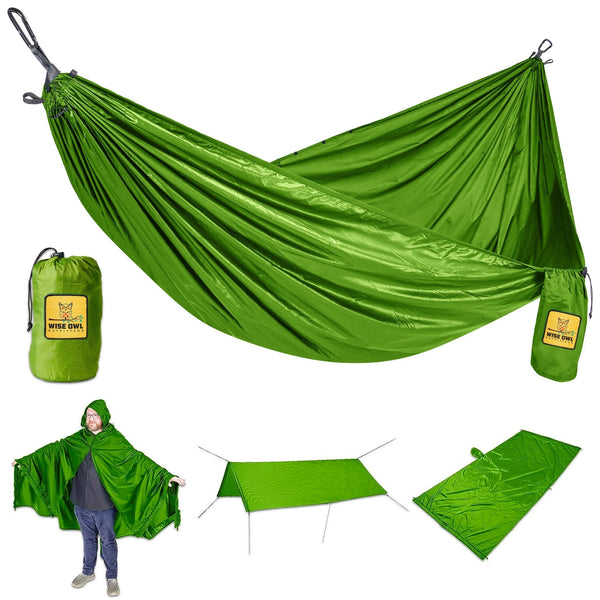
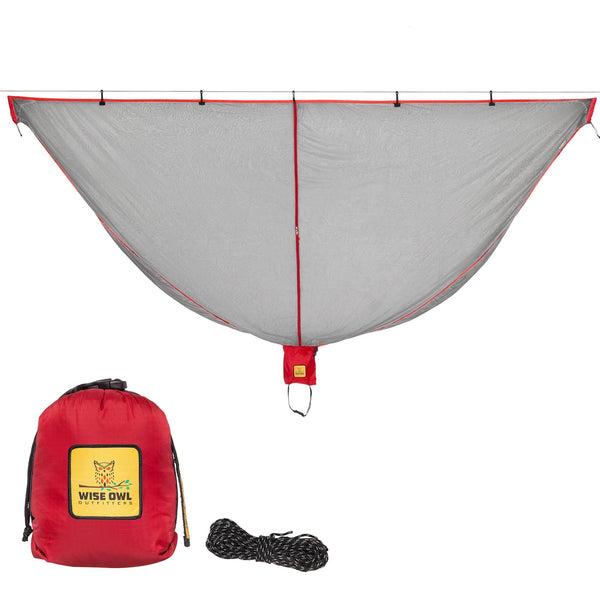
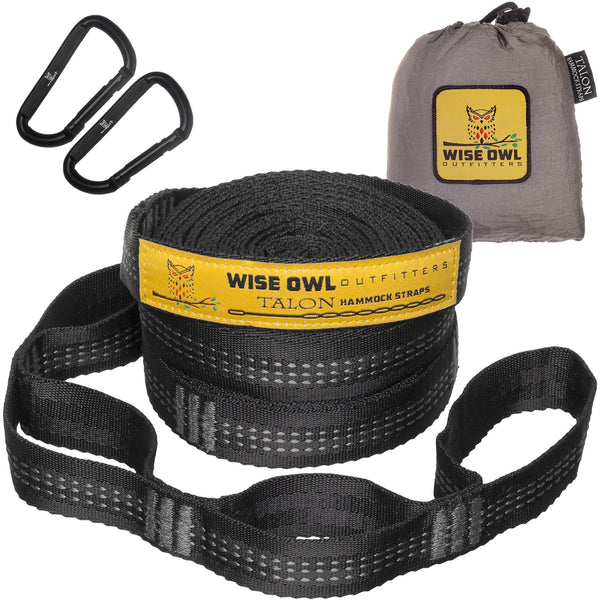
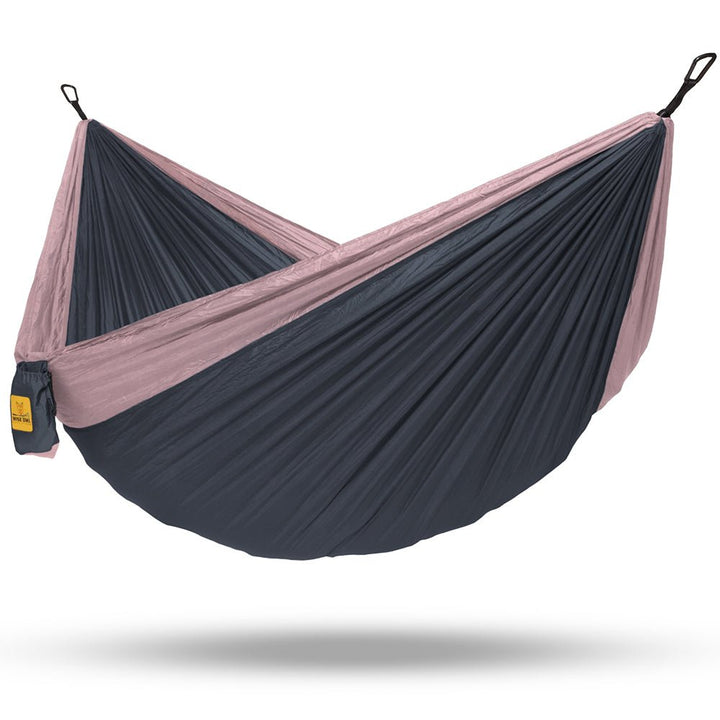
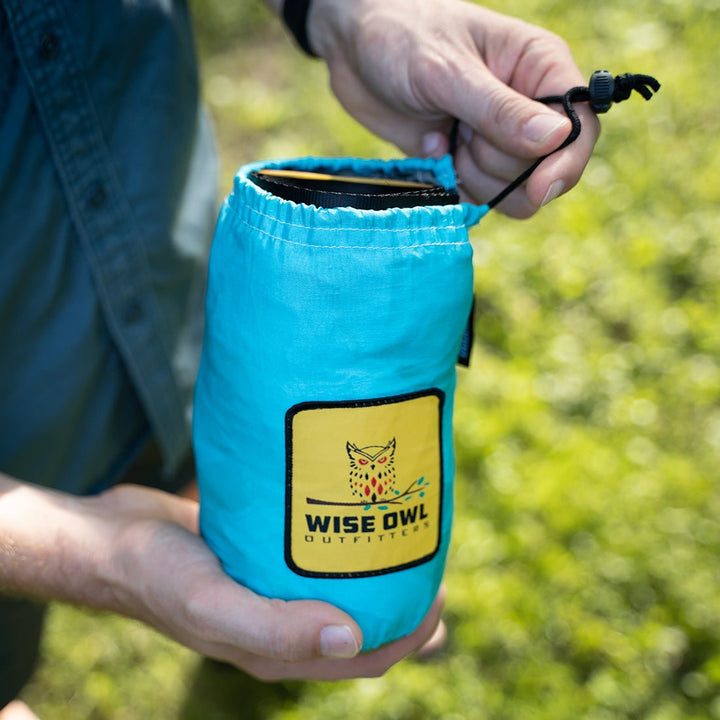
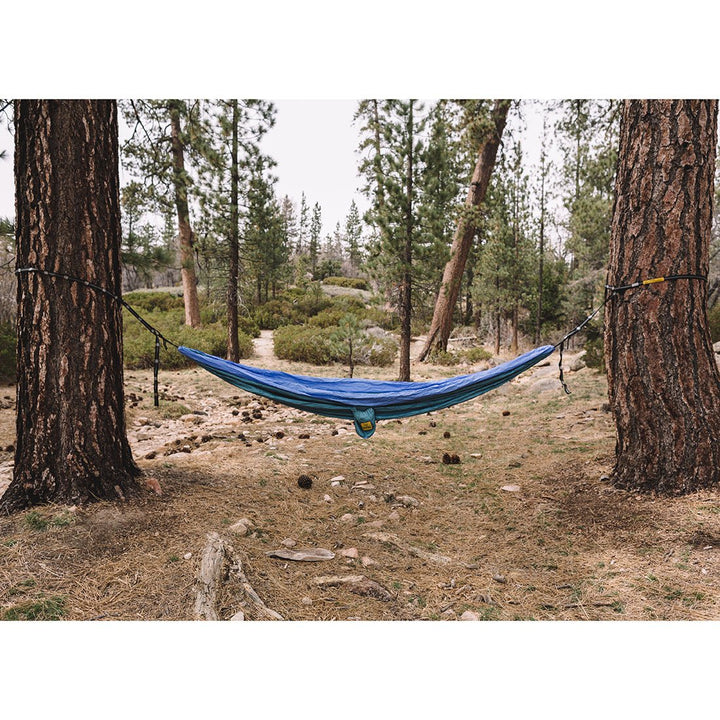
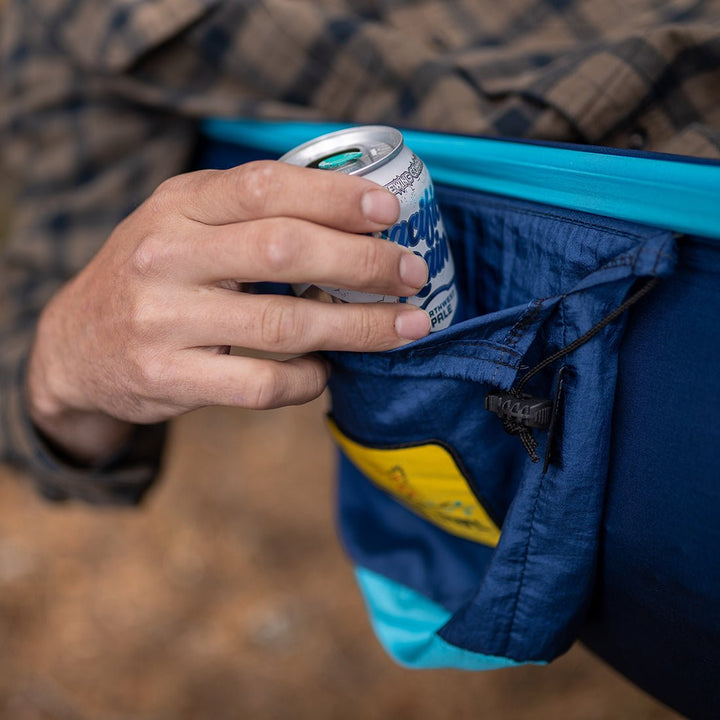
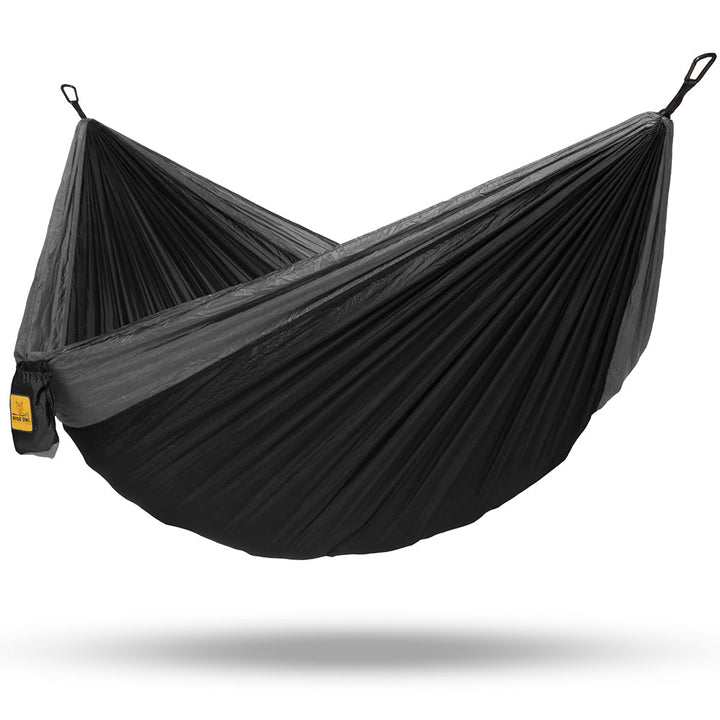
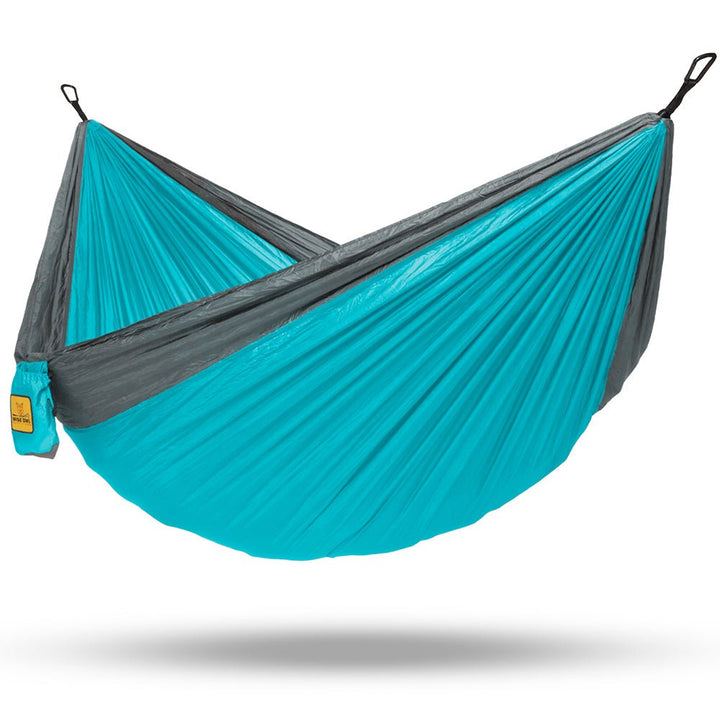
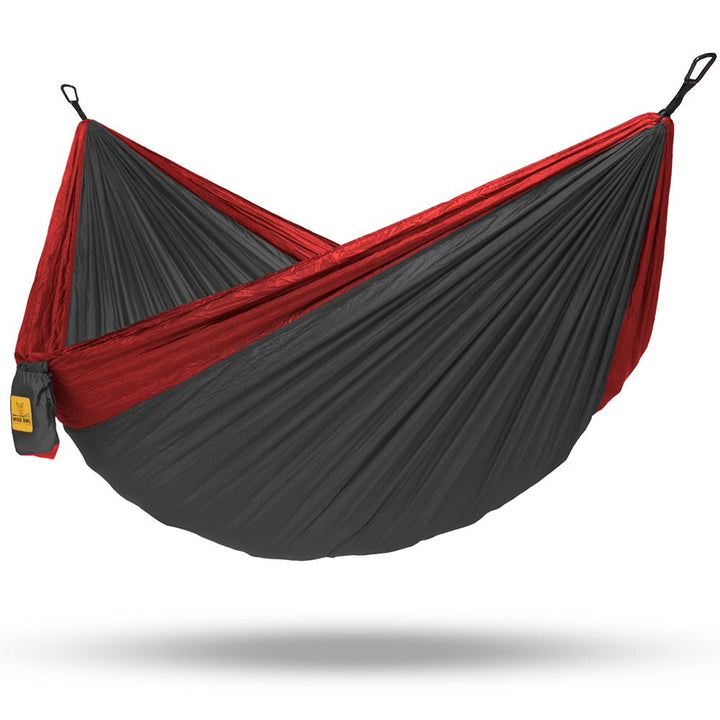
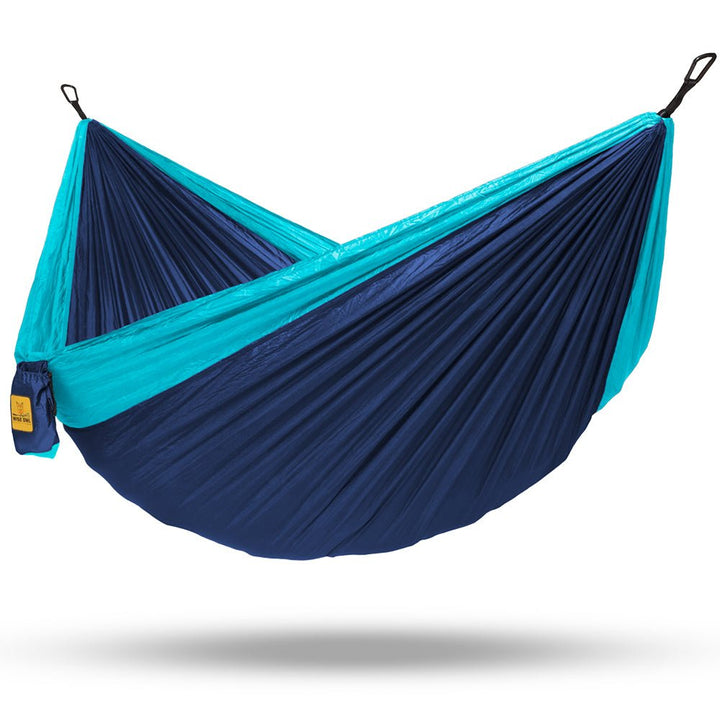
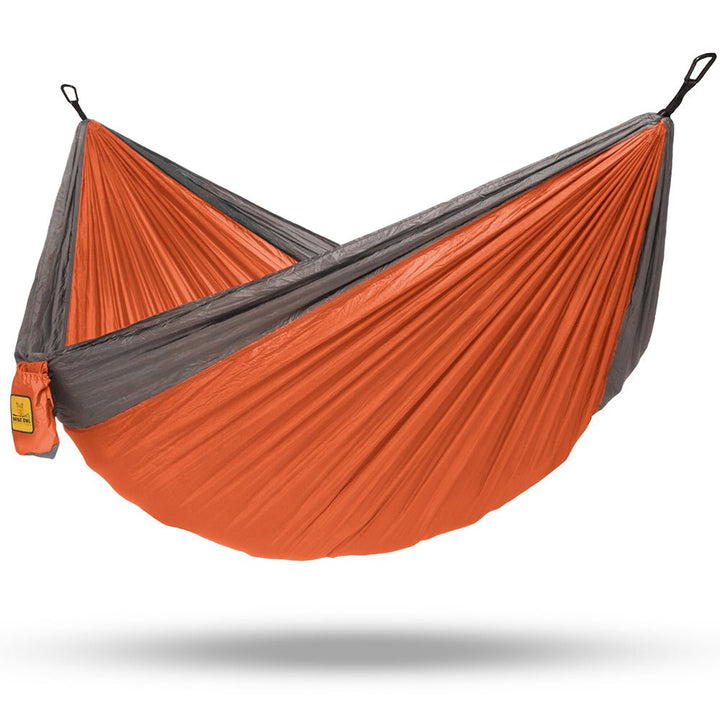
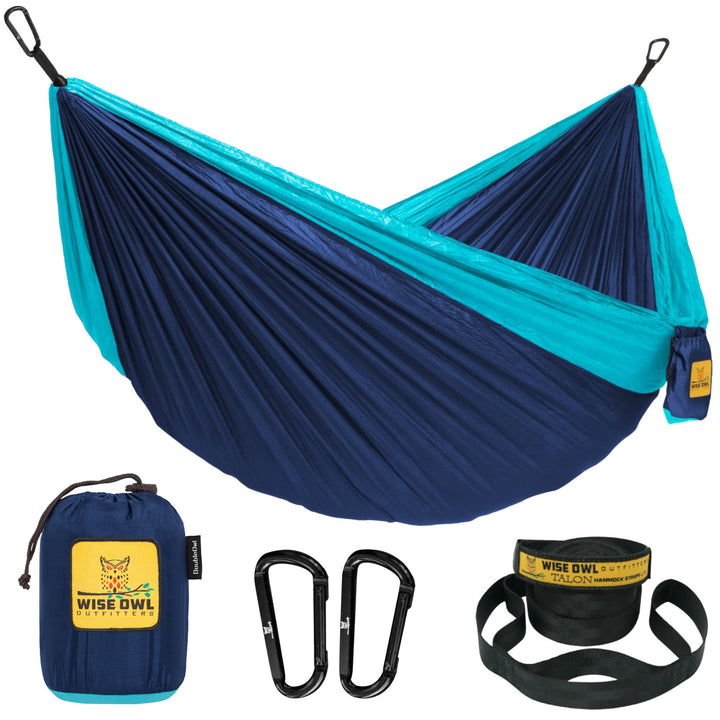
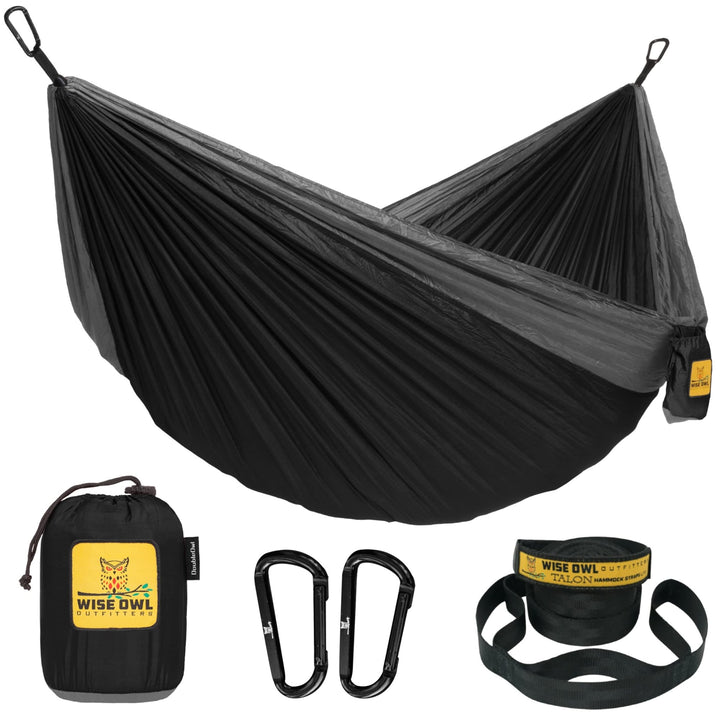
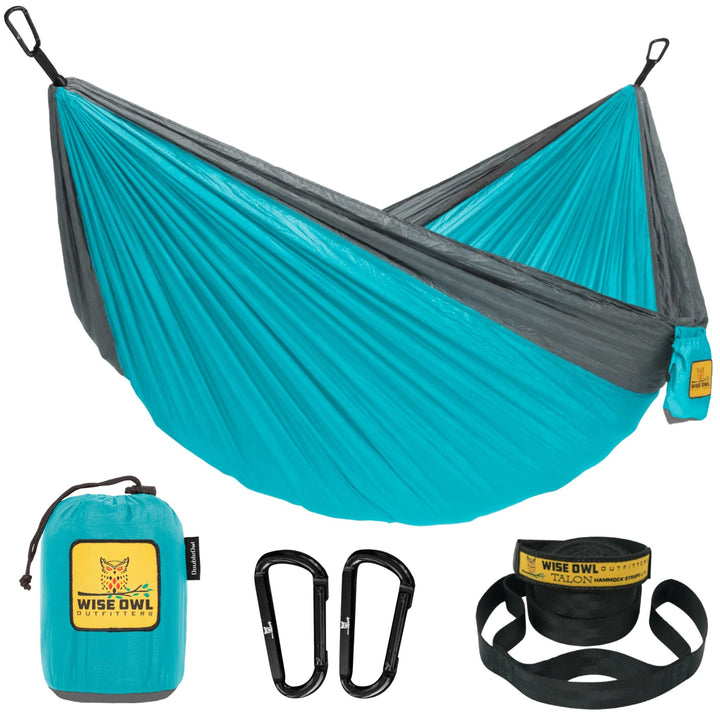
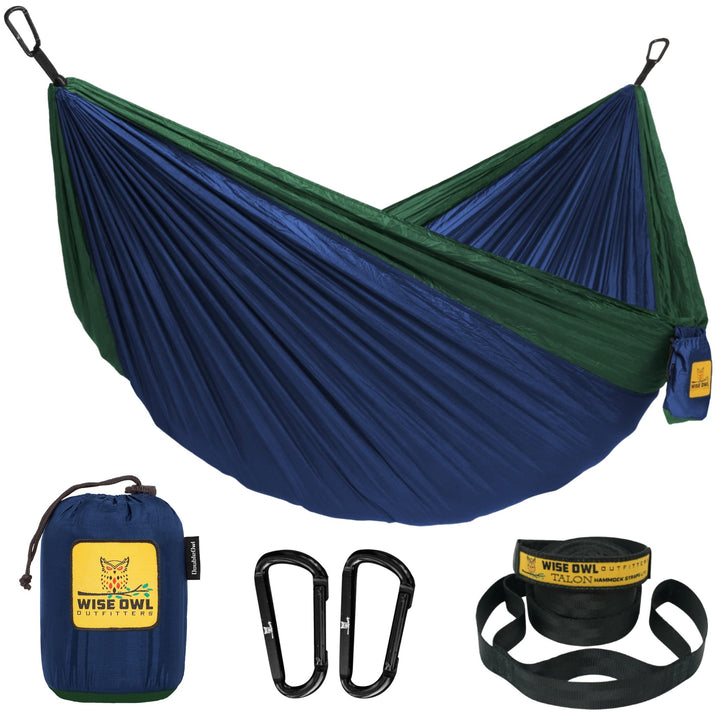
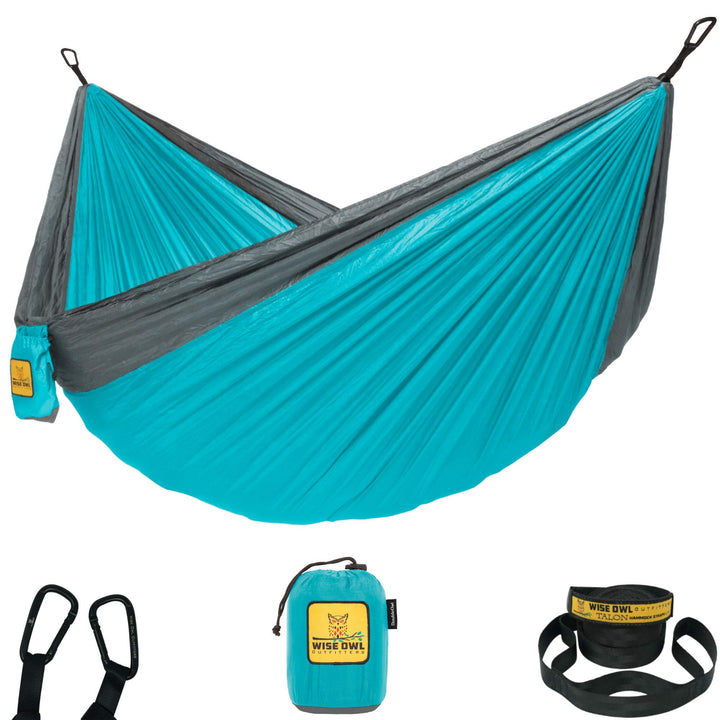
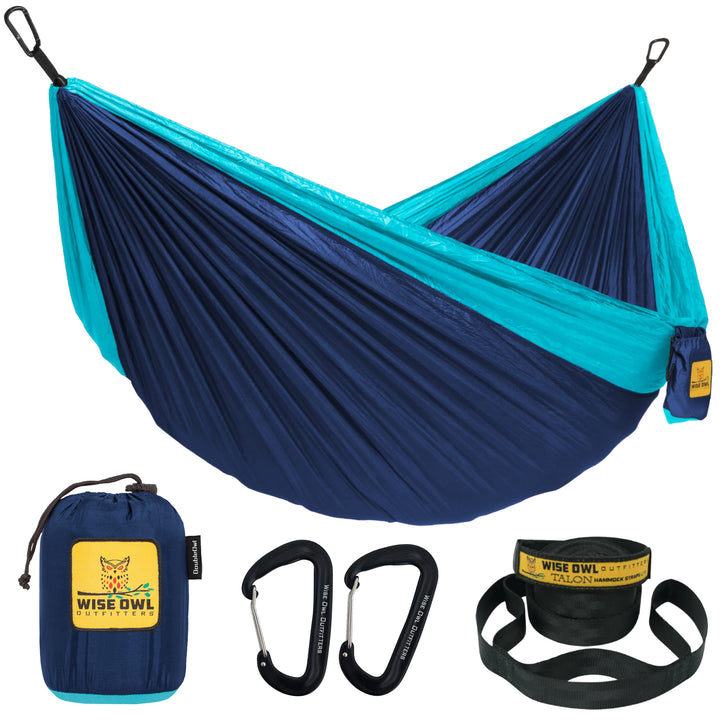
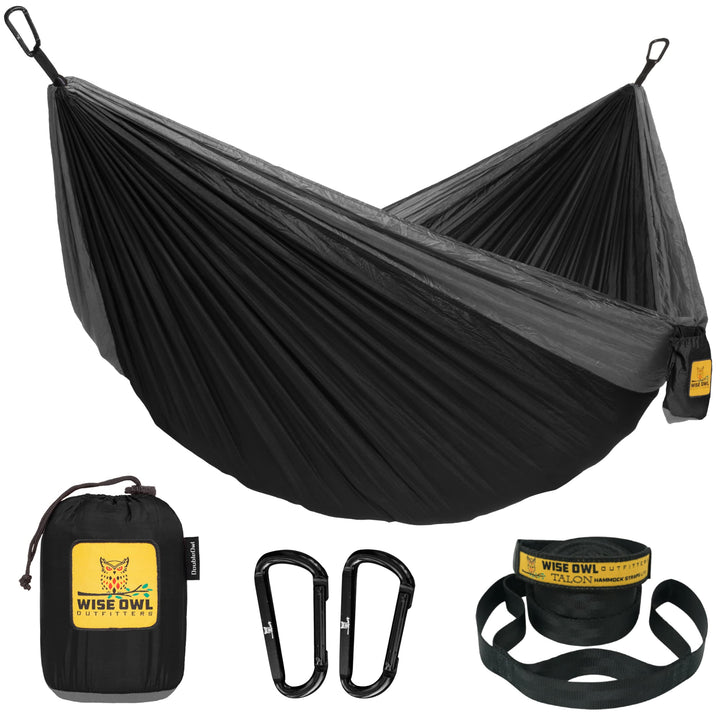
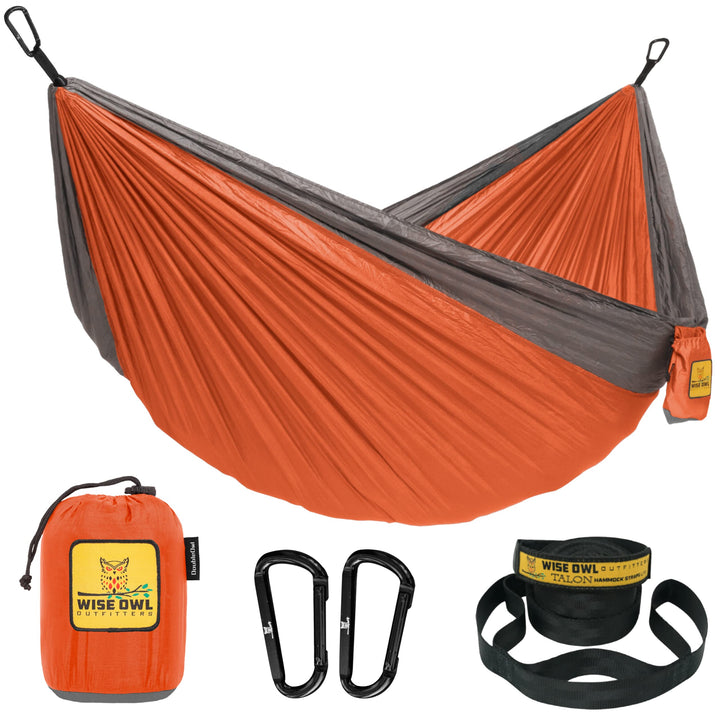
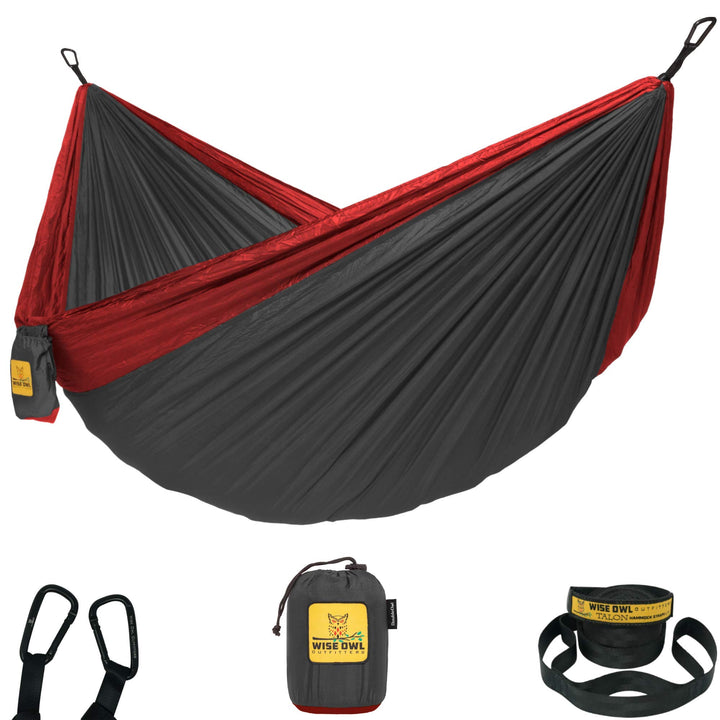
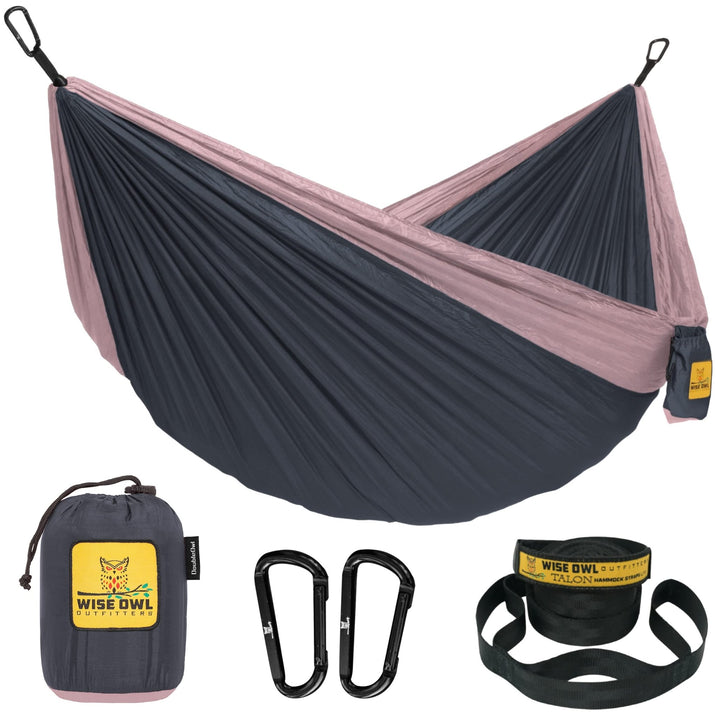
Well, that’s another story. Finding high quality camping gear that’s comfortable, portable, and affordable shouldn’t also break the bank. That’s why our SingleOwl and DoubleOwl camping hammocks were born: to bring comfort anywhere, with wisely designed portable hammocks that are as affordable as they are comfy.

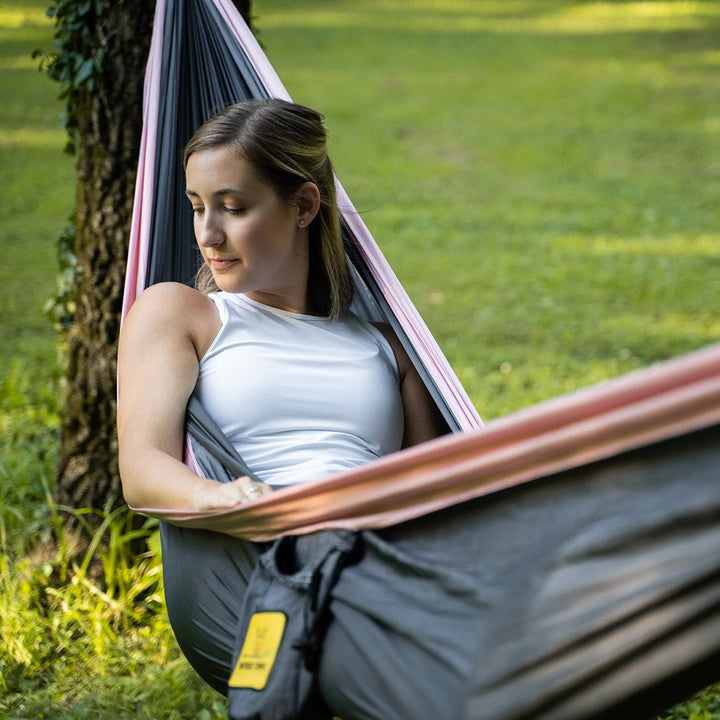
Then, we took what everyone loved about our camping hammocks and continued to grow the Wise Owl family. Why? Because we believe quality time spent outdoors has so many benefits for people physically and mentally, whether you’re hanging solo, camping with family, or getting lost for a few hours.

Experience the Difference

Free Shipping over $50

Expert Customer Service

30 Day Money Back Guarantee

Have questions? We got you.

What is the length of the nylon from the head when seated to the other end?

9 feet (2.74m)
It has 2, 9-ft Talon Straps, 2 O-shaped carabiners, and an attached storage bag. As durable as it is easy to set up, our hammock is a camping essential.

How to install the Hammock?

Here are the steps to install the Hammock:

  • Start by taking your hammock out of the bag, making sure you have your carabiners and both Talon Straps to hang up with!
  • Find two trees 10-12 feet apart that can support the hammock and its occupants. Make sure they look sturdy so you don’t harm the trees!
  • Wrap one strap 1-2 times around the first tree approximately 5 feet up from the ground, pass the end with one loop through the other end.
  • Attach a carabiner to a loop on the adjustable end of the strap and make sure the carabiner’s gate is fully closed.
  • Repeat the process for the other strap. Adjust up or down to your liking! The hammock should hang at least 18” from the ground.
  • Enter the hammock by spreading the fabric wide, taking a small step back, and sitting down. Swing your legs in!
How to use the Dry Bags?

Here are the steps to use the Dry Bags:

  • Start by placing your gear into the open dry bag, making sure you’re not putting in any sharp objects like tent stakes or open pocket knives.
  • Once you have all your gear stowed take the top of your bag and roll it 3 to 5 times tightly, making sure there isn’t too much air trapped inside.
  • With your bag top rolled clip the ends together to keep everything secure and watertight. Use the D ring to tie it off to your boat!.
See More FAQs